For this article, we will demonstrate logging in to the free version of Zoiper Lite.
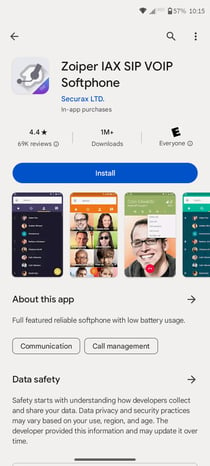
- Open the Google Play Store and search for the "Zoiper" mobile app, then click Install.
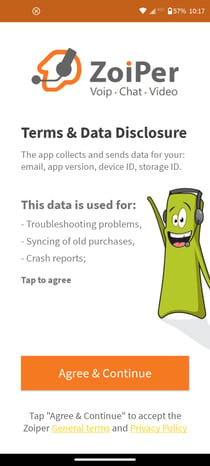
- Click Agree & Continue
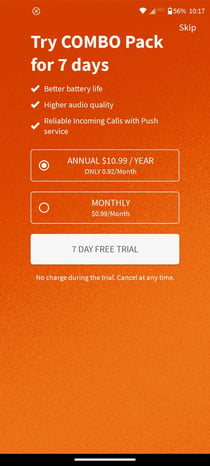
- At the "Try COMBO Pack for 7 days" screen, click "Skip" in the upper right corner.
- When prompted "Are you sure you want to use the Free limited version?", click YES.

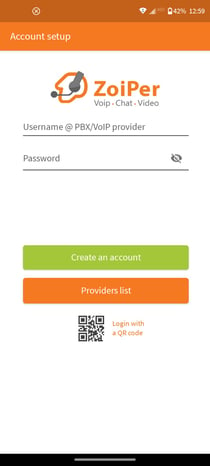
ACCOUNT SETUP
- On the Account Setup Screen, enter the Username and Password provided by Simplifi
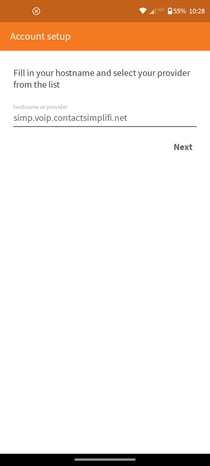
- If prompted, verify the hostname and click Next.
- The format will look something like: youraccount.voip.contactsimplifi.net.
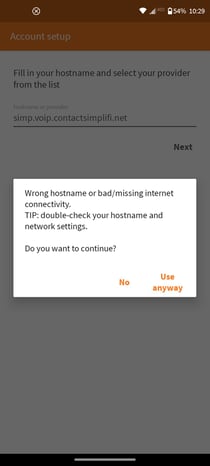
- If prompted that the wrong hostname was used, click "Use anyway"
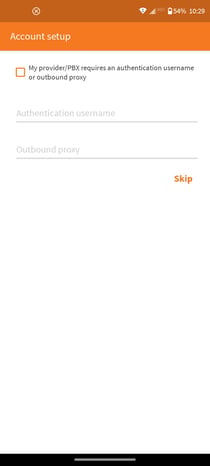
- On the next Account Setup screen, check the box indicating "My provider/PBX requires an authentication username or outbound proxy".
- Enter the Authentication username provided to you by Simplifi and click Next.
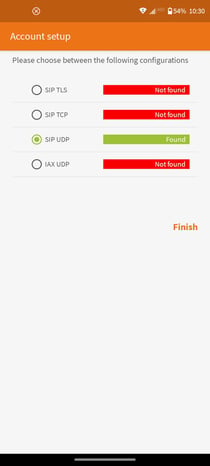
- The following screen will cycle through the available configurations. Once SIP UDP turns green (and the remaining are red), click Finish.
- Click Allow on the prompts (microphone access, camera, contacts, etc.)
- Your extension should now be active on the Zoiper app and ready for use.